Before a Kauaʻi land-clearing site walk, take seven deliberate views. Together, they create a more useful first conversation without pretending that photos can replace an on-site review.
The public approach
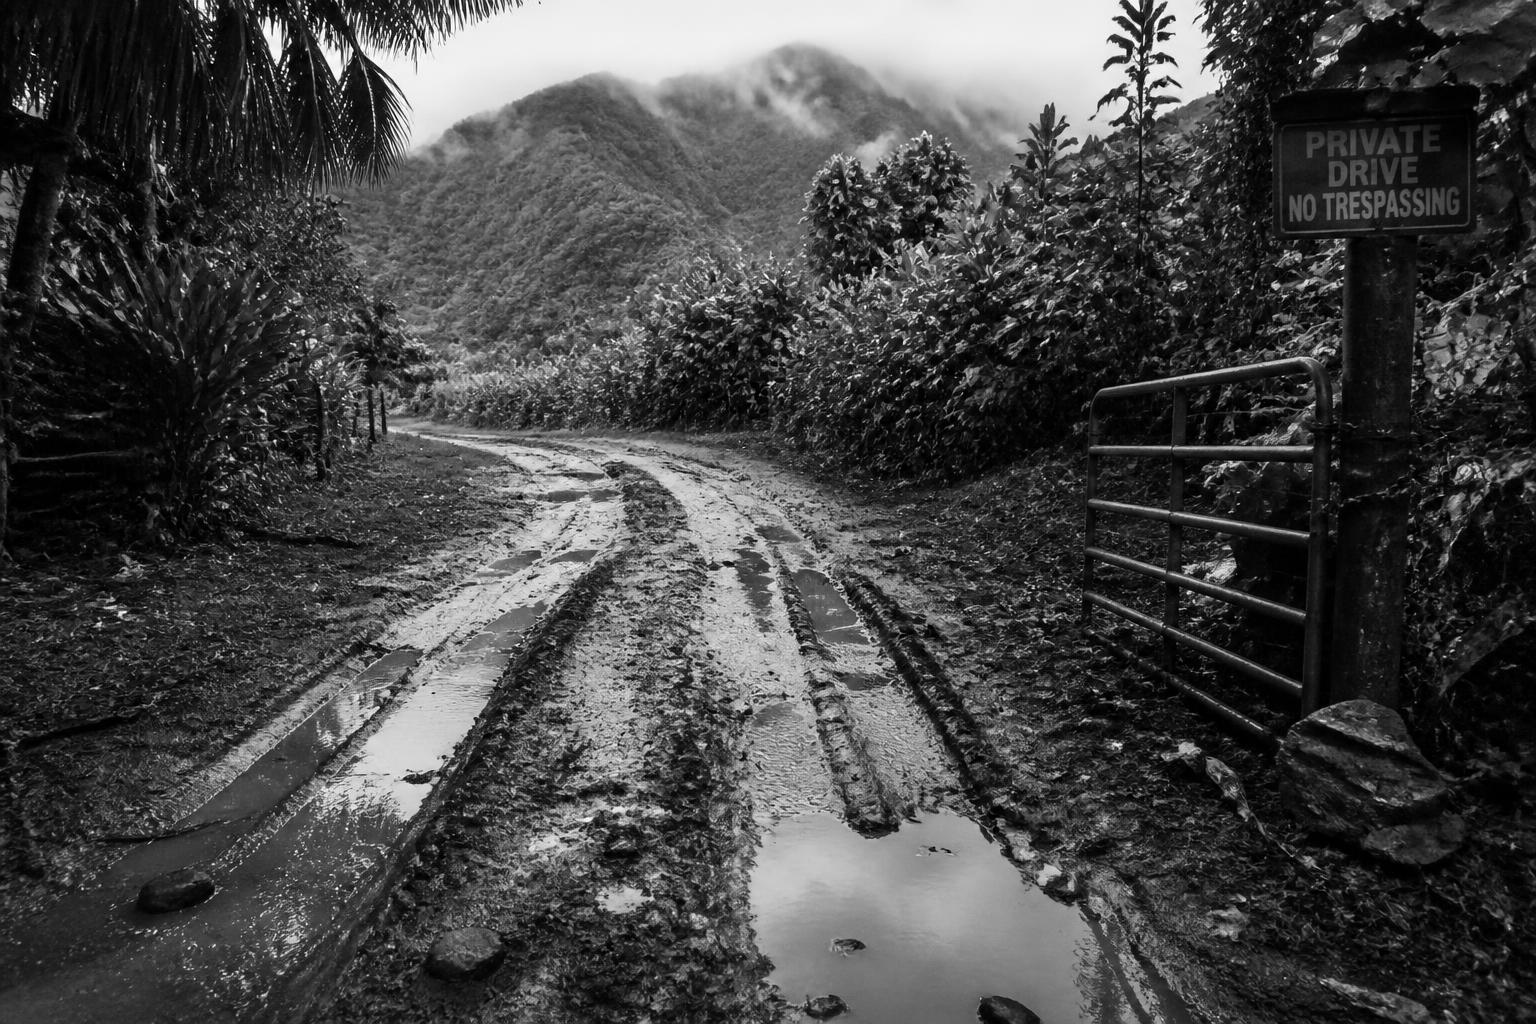
Stand where the private approach meets the public road and photograph the route into the property. Show the opening, visible shoulders, overhead vegetation, and the direction equipment would need to travel.
This view answers a basic question: what does the transition from road to property look like?
Keep house numbers, neighboring addresses, people, vehicle plates, and gate codes out of the frame when possible.
The narrowest access point
Photograph the tightest visible turn, opening, gate, bridge, soft section, or overhead constraint between the road and the work area. Step back far enough to show the constraint in context.
A tape measure can help document a width, but a photo and a measurement do not confirm that a route is suitable for a particular machine. That decision stays with the site review and approved work plan.
The full work area
Take one wide view from a stable, authorized location. The frame should show the relationship between the proposed boundary, nearby structures, slopes, existing access, and vegetation.
If the work area cannot fit in one frame, take an overlapping sequence from the same position. Avoid stitching images in a way that changes apparent distance or slope.
Vegetation and root conditions
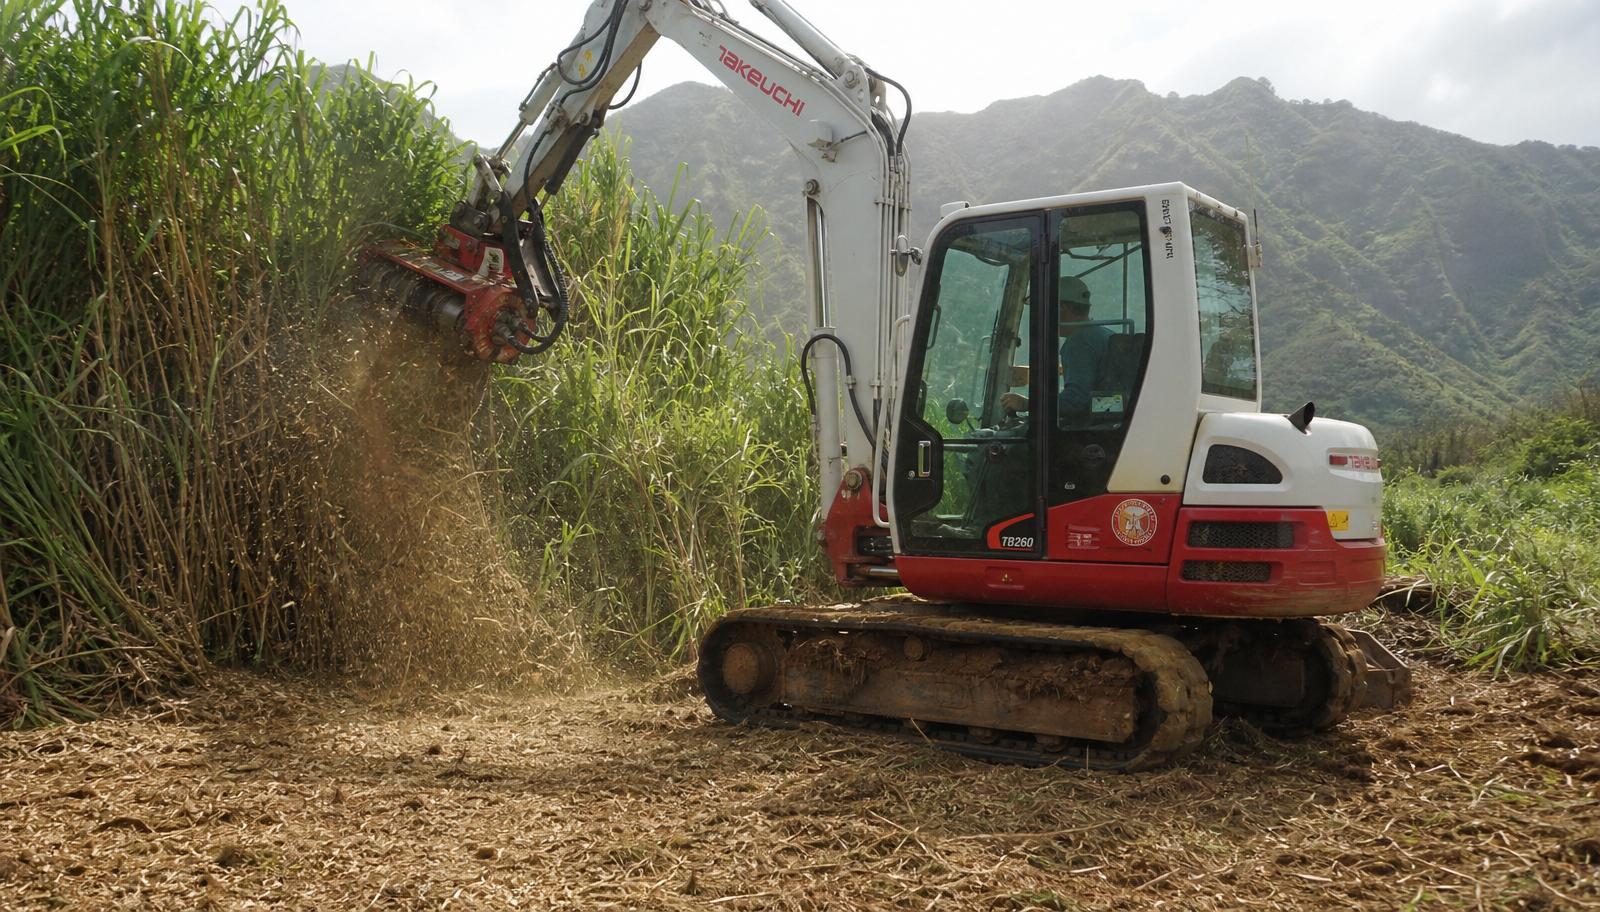
Add closer views that show representative vegetation density, trunk size, vines, root exposure, stumps, and material already on the ground. Photograph what should remain as clearly as what may be removed.
Surface cutting, mulching, root review, material staging, and removal are different scope decisions. A useful photo helps identify which questions need answers during the site walk.
Slope, low areas, and visible water paths
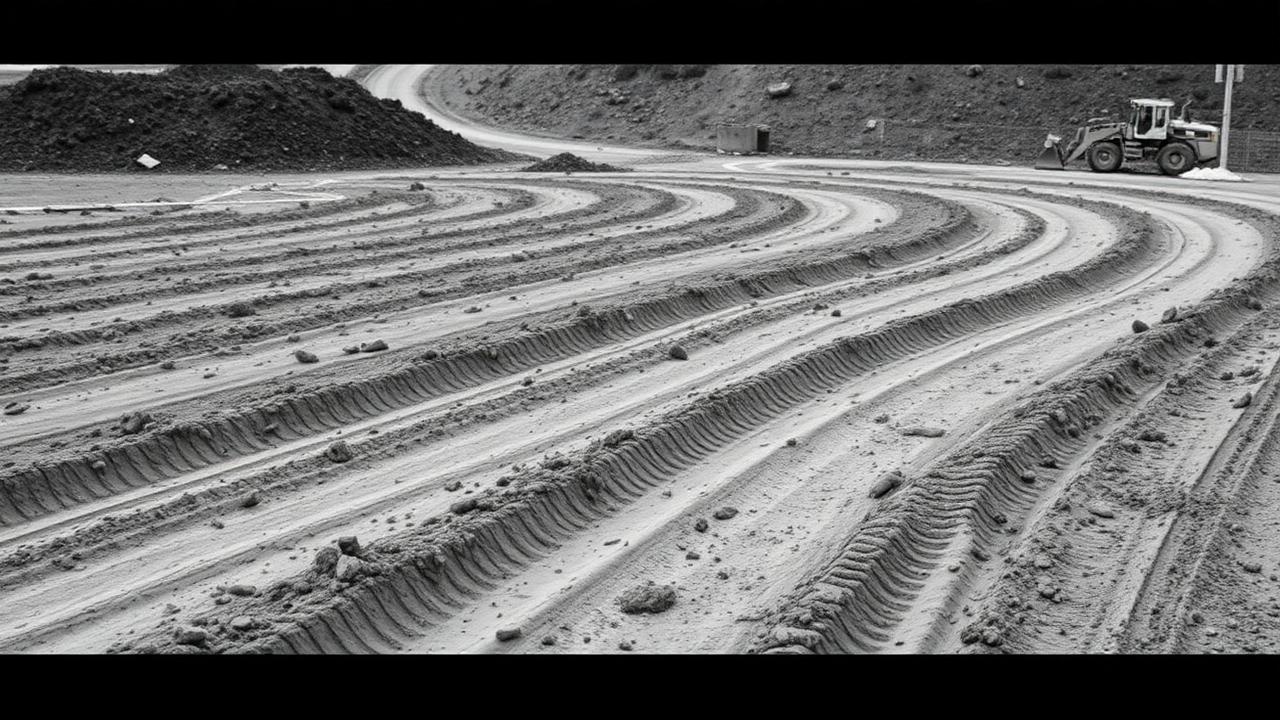
Photograph visible grade changes, swales, culverts, ponded areas, eroded spots, and places where runoff enters or leaves the proposed work area. After rain, document conditions only from stable, authorized access.
Clearing can change what is visible at the ground surface. The photo set should help the site conversation identify drainage features and areas that require care, not make an engineering conclusion from an image.
Possible staging and material-handling areas
Take a wide view of any area that might support staging, loading, chipping, mulching, or temporary material separation. Include the route between that area and the proposed clearing boundary.
Do not assume a location is approved for staging because it looks open. Property boundaries, access, ground conditions, nearby features, and the accepted scope still need review.
The intended completed state
The final photo should show what the owner wants the area to support next. Add a short note such as:
- reopen practical access
- make vegetation upkeep manageable
- expose the area for survey or planning
- prepare for a later construction review
- preserve selected vegetation while opening defined space
The note matters because “clear it” can describe several different results.
Put the seven views in order
Name the files 01-approach through 07-finished-use before sending them. Add the general property location, the intended completed state, and any known timing constraint. Keep addresses, TMKs, gate codes, occupant details, and private access instructions in direct follow-up rather than public comments.
Photos improve intake. They do not establish boundaries, confirm hidden conditions, select equipment, or determine a final scope or price.
Request a land-clearing site walk
If the property is ready for a site-specific conversation, send the seven views and the intended completed state through the estimate request route.
Common questions
Can photos replace a site walk
No. Photos improve the first conversation but cannot confirm every access, ground, boundary, vegetation, material-handling, or completed-state condition.
Should private access details appear in public comments
No. Keep addresses, TMKs, gate codes, occupant details, and private access instructions in direct follow-up.
What if the property has several access routes
Photograph the public approach and the narrowest visible point on each realistic route. Identify which route the owner normally uses, then leave suitability to the site review.
What is the most important photo
The wide work-area view is usually the best starting point because it shows relationships. The full seven-view sequence is more useful than any single image.